Dorm Room Wall Collage: A DIY Guide
Tired of staring at plain walls? Now that teens are headed back to school and some are starting college, this is a great time to consider dorm room decor. A wall collage is a fun and creative way to personalize your dorm room. It's also a great way to showcase your favorite photos, artwork, and memorabilia. Here’s a step-by-step guide to help you create a stunning wall collage. You can also scroll down for some wall collage kit inspiration.
1. Choose a Theme
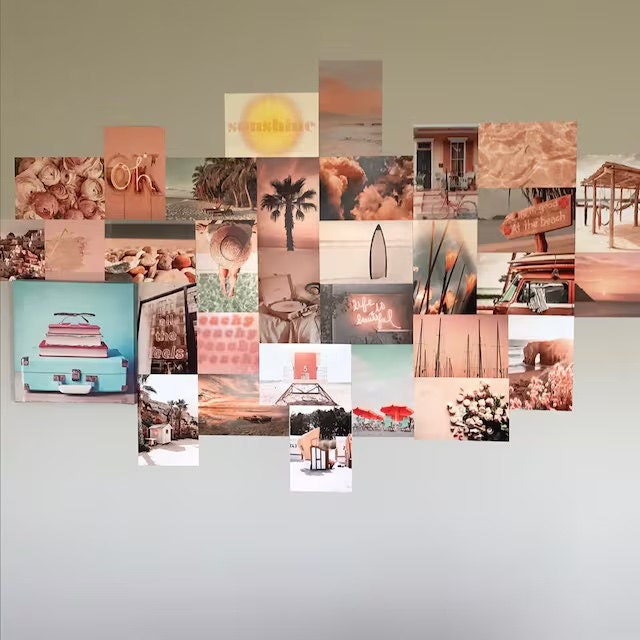
Before you start, decide on an aesthetic theme for your collage. This will help you choose the right pieces and create a cohesive look. Some popular themes include:
- Travel: Show off photos from your adventures.
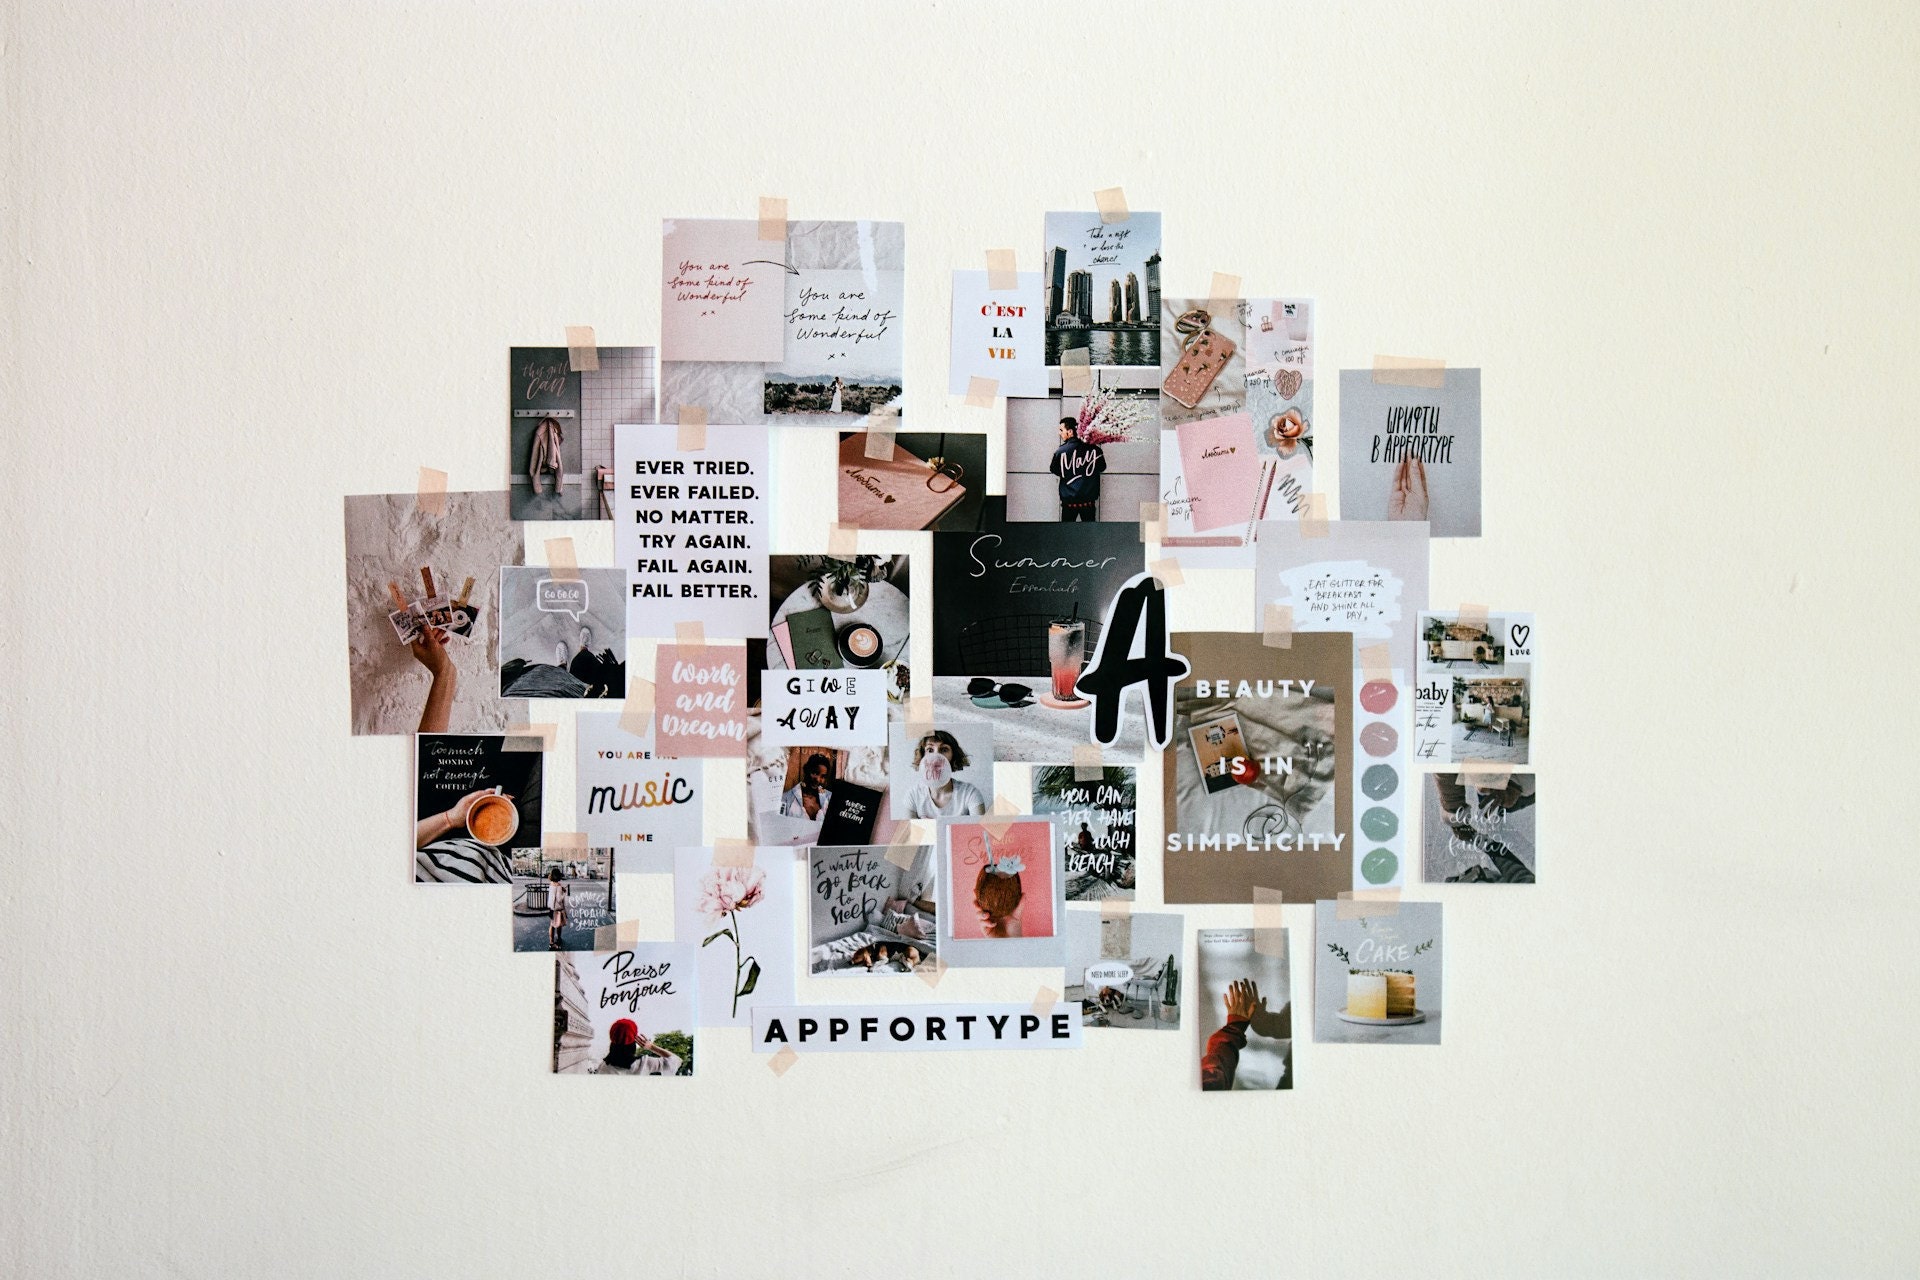
- Inspiration: Display quotes, artwork, or image pics that motivate you.
- Memories: Create a timeline of your life with photos and keepsakes.
- Hobbies: Showcase your passions with photos, drawings and related items.
- School Spirit: Use your school colors as an inspiration and get photos in those colors and alternate on your walls for a fun look. Or you could have the photos in one color and order lights or pushpins in your college's second color.
2. Gather Your Materials
Once you have a theme in mind, gather the materials you'll need. This might include:
- Photos and artwork
- Push pins or thumbtacks
- A measuring tape
- A pencil
- A level
- A corkboard or a piece of plywood (optional)
3. Plan Your Layout
Before you start hanging anything, plan your layout. This will help you visualize the final look and ensure that everything fits together nicely. Here are a few tips:
- Start with a focal point: Choose a piece that you want to highlight and place it in the center of your collage.
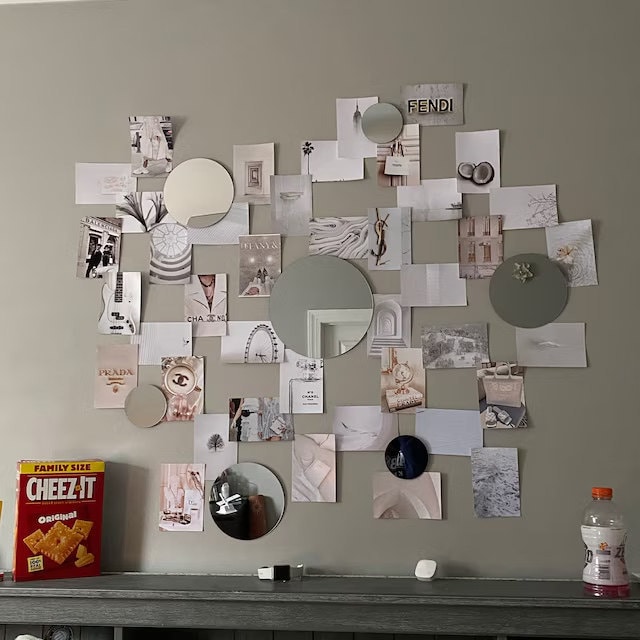
- Vary the sizes: Use a mix of large and small items to create visual interest.
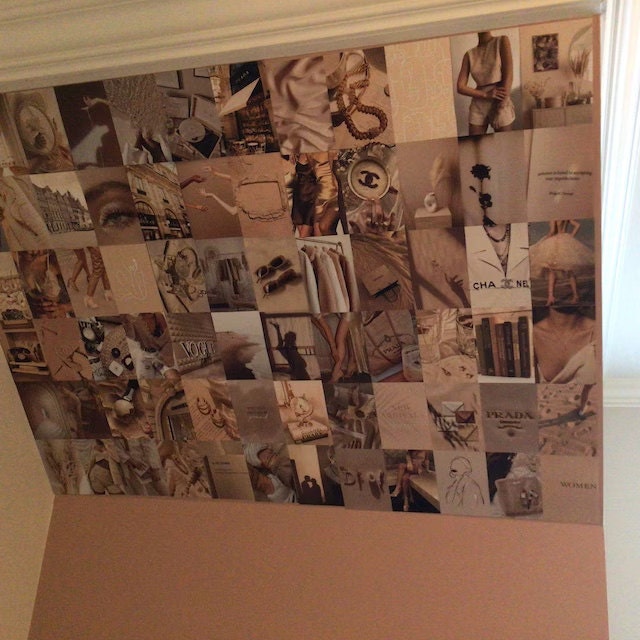
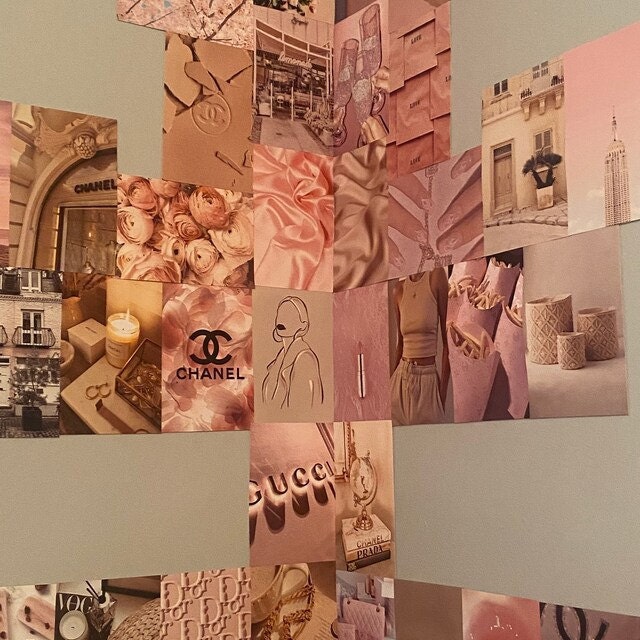
- Consider the spacing: Experiment with leaving some space in between items or having them blend together. Choose your favorite look.
4. Hang Your Items
Now it's time to hang your items. Here are a few tips:
- Use a level: Make sure your collage is straight.
- Start with the larger pieces: This will help you anchor the rest of your collage.
- Use a variety of hanging methods: You can use push pins, thumbtacks, or even tape for smaller items.
5. Add the Finishing Touches
Once you've hung all of your items, take a step back and admire your work. If you think the collage needs something extra, consider adding a few finishing touches. For example, you could:
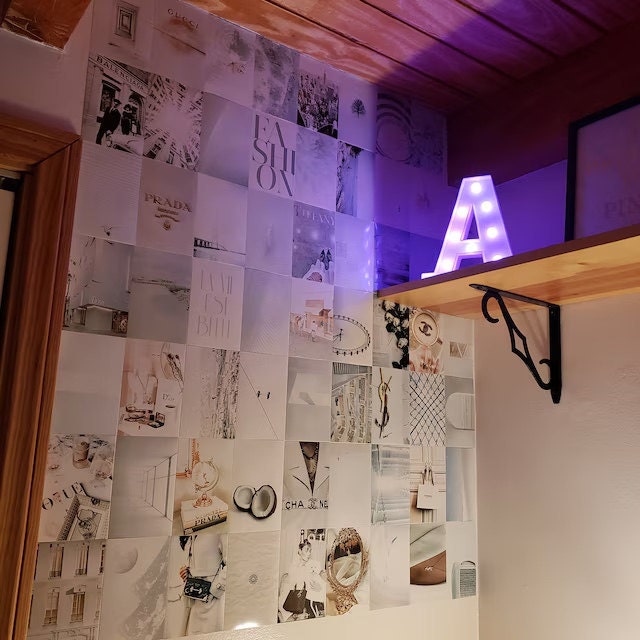
- Add a string of lights: This can create a cozy and inviting atmosphere.
- Frame your photos: This can give your collage a more polished look.
- Add a decorative border: This can help to define the edges of your collage.
With a little planning and creativity, you can create a beautiful and personalized wall collage for your dorm room. So get started and have fun!